If you are anything like me, once you’ll start making your own vinegar you will never go back to a store bought one. The process is so simple, using mostly leftovers from other food preparations and the end result is so delicious there’s just no math to it. Plus you can make vinegar from just about any fruit, herb, vegetable and even flowers from your garden, helping you get the most out of your and nature’s hard labor.
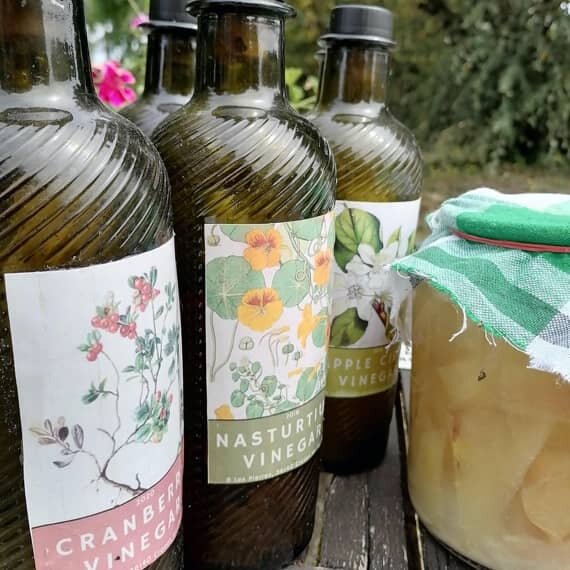
I’ll here show what I do to make Apple Cider Vinegar ( or more precisely Apple Scrap Vinegar) but I encourage you to make your own combinations and variations, it’s your car so I let you drive it. In a nice bottle decorated with a selfmade label, it makes for a pretty impressive gift too, if you can spare some.
Homemade Vinegar
Prep Time 5 minutes
Additional Time 1 month 14 days
Total Time 1 month 14 days 5 minutes
Ingredients
- Apple scraps and peels when making Apple Cider Vinegar, or other fruits or herbs of your choice, no specific amount, enough to fill ¾ of the jar over time
- water (non-chlorinated) to cover the fruit or herbs
- ¼ up to ½ cup of sugar, some more after a few weeks
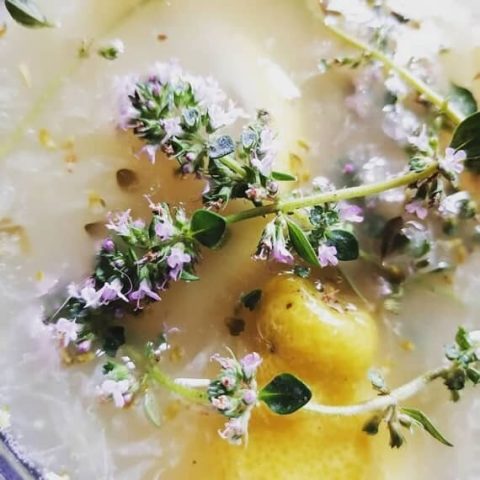
- Any additional herbs or spices you prefer, no need to add any if you’re going for the more traditional taste. I sometimes add fresh sage or other fresh herb cuttings I have left over from cooking
- 1 cup of brewed water kefir or homemade fermentation starter (optional)
- A wooden stick or spoon to stir the liquid on a daily base in the beginning.
Instructions
- Clean the jar thoroughly, I myself would not worry about sterilization.
- Fill the jar with fruit or herbs of your choice, as many as you have available at the time, up till ¾ of the jar. If you’re like us, we eat an apple after lunch mostly every day, so I add those scraps later.
- Add the sugar. Its not really necessary to add sugar at all, but I feel it adds to the tanginess and acidity level of the vinegar later. If not using sweet fruit, I would actually add more sugar here to feed the bacteria that will get the fermentation started.
- If you have, add the fermentation starter or brewed waterkefir. This will jumpstart the process and get things going quickly.
- Fill the jar with water, making sure everything is covered. No oxygen should be able to reach the fruit.
- Stir everything thoroughly with a wooden spoon or stick (no metal)
- Cover the jar with a piece of cloth and a rubber band, to keep dust and fruit flies out. Don’t put a lid on the jar though; it’s essential that there’s airflow for the acetic acid fermentation to work.
- Place the jar on your countertop, or somewhere where you wont forget about it. You’ll be stirring this concoction daily for the next two weeks (at least, if you keep adding apple scraps, as long after the last addition) so it’s easier to keep it in sight.
- After two weeks of stirring, I dare you to taste a sip. It’s really a wonderful start and you will develop a sense of where in the process of developing your own vinegar you are.
You can add another ¼ cup of sugar now if you feel the liquid is not acid enough. This will prolong the first part of the fermentation process, so if you do keep stirring for another week or so. - You can now put the jar aside in a dark, cool spot.
If you’re lucky, a gelatinous layer will form on top of your vinegar-in-the-making. This is called a mother and will help you jump start a new batch, so don’t throw this away! When this doesn’t form though, it in no way means your vinegar is bad and you can just use it. - There’s really no other way to tell if your vinegar is ready than by tasting. There are many variables playing a part that can either accelerate or slow down the process. In summer things will develop much quicker than in winter, for example. Roughly said, it will at least take six weeks. There are paper strips on the market to test acidity and I do use them as well, just to be safe. A mildly acidic vinegar typically has a pH between 2 and 3; I would say anything above a pH of 4 is not yet done.
- If the taste is to your liking, you can now sift out the apple craps. Don’t throw them out, but use them on your compost pile or feed them to your chickens, they’ll feast on them!
- Fill some nice bottles with your home made vinegar. If they are well closed, your vinegar will keep for a very long time and its taste will only get better over time.
- Don’t forget to use a mother next time, once you have one. If not, adding a splash of your home made vinegar at the start of a new batch surely helps too.


Thanks Franck, I’ll give this a go
Very welcome, hope it gives you as much joy as it does me!