Skip to content

True love really does last forever

It’s that time of year again and in line with my adherence to for once be on top of things I started a new batch of our green black walnut wine earlier than usual, if only by a few hours. 

I have emblazoned the mythical powers involved in brewing this specific farm kitchen apéritif many times before, probably because its enriching potential is somehow connected to our anniversary tomorrow, the feast day of saint us, twelve years and counting, but don’t let that fool you into thinking it has run its course, because it never will. True love really does last forever. 

By no means look at this next bit as a recipe for succes,  as your own tastebuds should be the real guidance eventually and any new skillset can only come to fruition after multiple less fortunate trials, but it might help you to get started making your own ‘vin de noix’ and  in this case to start actually means at least half the work already done, with only patience left to pursue, patience and some random checkups. Okay, the final filtering and botteling might be a bit messy and certainly time-consuming too, but don’t let that scare you off just now.

blank

Let’s talk walnuts first as they will be the star of this show and picking them at just the right stage in their development clearly is key: they should still be very tender and you should be able to pierce them with a needle or cut them into pieces without encountering any real resistance.

Roughly indicated I would say pick around the end of June, but it obviously depends on region and weather. Traditionally it is said that the best nuts are those picked on St. John’s day so my best advice is to start checking on June 24th, stretching your chances towards mid July.

 If the fruits have started to turn to wood and you have to force them to pierce or cut them, they are already too far in their development. Leave them to snack on later in the year, because using those makes no sense: it will turn your wine utterly bitter. Instead, remember to write down a note for next year that will make you start exploring earlier.

So how many green walnuts do you need? It depends on taste, obviously, as the high level of tannins are responsible for its distinctive flavour and if you are willing to let the wine age for a longer period you can probably get away with a bit more nuts from the start:  it will take at least 6 months or longer for this bitterness to calm down and mellow out a bit. This prolonged timeframe also calls for a larger batch to make to ensure a reasonable stockage throughout. Don’t worry too much about its shelve life: if put aside properly (dark and somewhat cool) ten years is not an exorbitant projection so it’s safe to presume it won’t be decay that will punch a hole in your provision.

Our usual batch covers about 8 to 10 bottles (8 liters or two gallons) and for that I add between 24 and 30 green walnuts, depending on their size.

It’s the green walnuts current juiciness that accommodates the specific aroma we would like to dominate in our future wine too, so be sure to also harvest some young, meristematic leaves from the tip of the branches as they contain similar qualities and will ultimately enhance the final product.

blank

What sets French Vin de Noix apart from its Italian cousin Nocino, besides the amount of green black walnuts used, is the alcohols added. Nocino is usually pretty strong and made with just a single, flavourless spirit like vodka, where Vin the Noix is made from a combination of red wine and spirits, typically Eau De Vie de Fruits or fruit brandy, but vodka works well too and I can even recommend using a high quality dark brown rum, although that will change the flavour significantly but if that’s your choice in poisons though, I’d say go for it.

A lot of the recipes for Walnut Wine found online will advise you to get a real cheap red, mostly because of the large quantity you need, which might seem logical at first (why amplify an already tasty, quality wine) but I do urge you to think again, not least because of all the unnatural additives found in lower-priced wines that inevitably will affect not just the taste but the general quality of your home-brew. If this is your first try, why not make a smaller batch to determine if using a more decent wine is worth the investment to you personally. 

No matter the price range, you should select a red wine that has a temperament-full body and has an alcohol percentage of minimum 12, if possible 13 or 14.
You can also replace the red wine with a white one, which will give the final product a beautiful amber color, or even a rosé, but opt for an older, stronger wine always because it will greatly benefit the long maceration process.

Some controversy surrounds the rest of the ingredients given, mostly aromatics that will define the personal touch you can give your fortified walnut wine. I’m not one to say what you can and cannot do and I’m sure some purists will shudder from my practice of adding cut up oranges and lemon, cinnamon sticks, mace and cloves to the concoction, from the start even. Nevertheless it’s how a friend taught me, with some personal tweaks over the years and no disappointment so far has made me come to terms with changing my ways, sorry not sorry. 

However, it might be a smarter method to firstly omit these aromatics to give your palet a chance of recognising the rather subtile flavour that green walnuts themselves add to spirits. Totally up to you, obviously. Some of the aromatics I add are very much associated with Christmas and while time wise this is a perfect point to aim at when it comes to a first taste, there’s also a lot to be said for waiting until the wine has had its Easter, changing the taste ballgame substantially as it’s a different festive season.

As for the sweetener used and the right time to add it, opinions differ too. Some use plain sugar, some use honey or maple syrup, some add it from the start and some prefer to add it after the first filtration, as it will give you more control over the final taste, since it has come to a more matured version by then. I actually do both: I’ll add a substantial amount of bio cane sugar from the start and will check in between if additional sweets are required.
One thing that should be clear is that after the liquid is bottled into it’s final destination, nothing should be added anymore.

The whole maceration process is rather hassle free: just place your vessel (preferably made from glass as the walnut juice does stain rather indelibly; certainly no metal is to be used here as the alcohol will react to it and create a nasty aftertaste) in a dark and cool spot where you are regularly reminded to shake things around a little, especially in the first weeks. 

I count a hundred days before filtering the first time, after which the liquid is returned to its vessel to rest for a couple of days. In order to take out as much debris as possible and create a clear, shiny, deeply coloured liquor, I filter at least two more times before bottling our Vin de Noix. Coffee filters will do just fine for this, yet it’s annoyingly time consuming.

blank

Yield: 8 bottles

Vin de Noix

Vin de Noix
Prep Time 15 minutes
Additional Time 6 months
Total Time 6 months

Ingredients

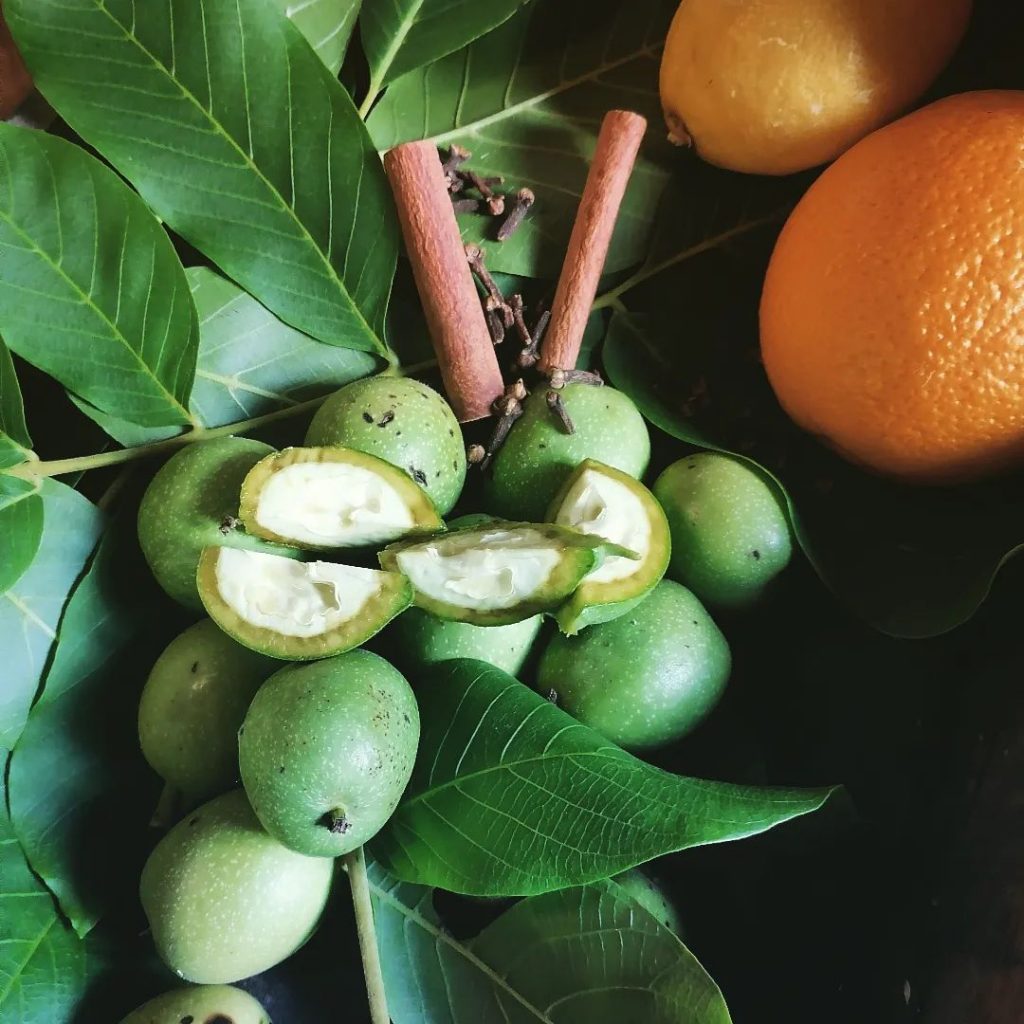
  • 24 -30 green walnuts
  • some young leaves from the tip of walnut branches
  • 1 kg bio cane sugar
  • 1/2 cinnamon stick
  • 2 slivers of mace
  • 4 cloves
  • 2 oranges, cut up in small pieces
  • 1 lemon, cut up in small pieces
  • 7 liters of strong red wine
  • 1 liter of white fruit brandy at 40% or vodka

Instructions

  1. Wash the nuts.
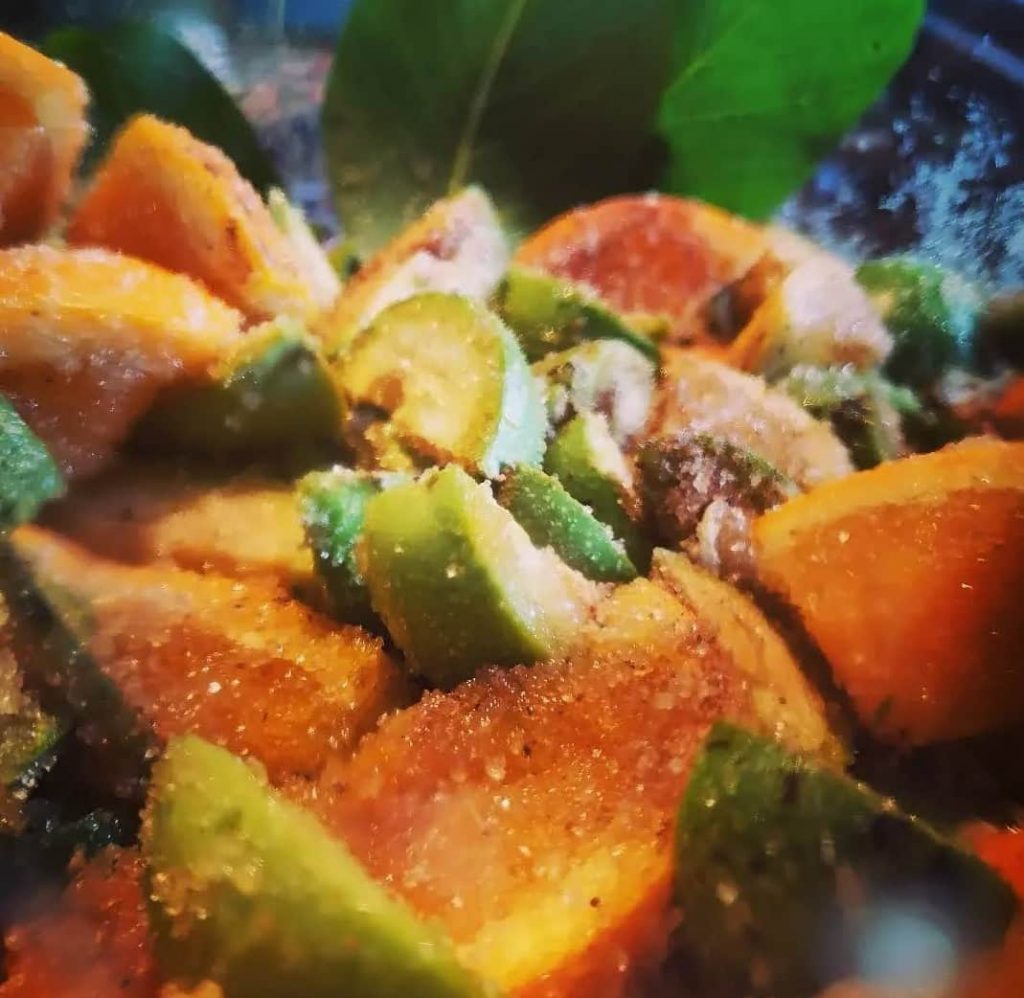
  2. Cut them into quarters, wear rubber gloves to prevent staining your hands.
  3. Add leaves, sugar, spices and fruit, if you decide to add.
  4. Pour the wine and fruit brandy on top.
  5. Leave to macerate for at least 100 days, shaking/stirring the vessel every day (or whenever you remember).
  6. Filter the walnut wine and return it to its vessel.
  7. Leave to rest for a couple of days.
  8. Filter again.
  9. Leave to rest for a couple of days.
  10. Filter again.
  11. Transfer the walnut wine to the preferred and sterilised bottles. Seal hermetically. Label. Be creative, these bottles make fabulous gifts too.
  12. Store in a cool place, away from light and atmospheric variations.
  13. Wait at least until Christmas for the first bottle to be opened.

Did you make this recipe?

Please leave a comment on the blog or share a photo on Instagram

4 1 vote
Rate this post
Subscribe
Notify of
guest

0 Comments
Inline Feedbacks
View all comments

Trying to make ones life sustainable is more than a personal choice and almost automatically leads to a multitude of decisions you have never even thought of before. On this website we share what works for us, or woefully no longer works, obviously without claiming the same for you.

We hope that our journey towards a supplementary comprehensive celebration of nature’s beauty might just clear a pathway forward for you too, perhaps challenges a revealing reconsideration, or simply provides for an equally indispensable diversion.

Can we change the world through food? We believe we can and we support Slow Food, a global movement of local communities and activists across more than 160 countries. Together we defend cultural and biological diversity, promote food education and the transfer of traditional knowledge and skills.

Cookie Consent with Real Cookie Banner